Há alguns anos
escrevi aqui um post sobre criação de permissões do Django com South. Hoje em dia as migrações estão integradas ao Django e as formas possíveis para criação de permissões são mais simples e mais elegantes.
Como documentado
AQUI basta adicionar as permissões desejadas ao class Meta do model. Depois disso um make migrations e por fim migrate e pronto.
DJANGO CUSTOM PERMISSIONS 2018
Some years ago i wrote
HERE about Django migrations using south. Since Django 1.4, migrations were integrated to it, and we have another way. You can check this out
HERE in Django's documentation. Steps below!
1 - Models class Meta:
from django.db import models
from django.conf import settings


class UserProfile(models.Model):
    user = models.OneToOneField(settings.AUTH_USER_MODEL, editable=False, on_delete=models.PROTECT)

    class Meta:
        permissions = (("can_read_own_contents", "Can read own contents"),
                       ("can_read_others_contents", "Can read others contents"),)
2 - Make migrations:
$ python manage.py makemigrations
Migrations for 'user_profile':
 user_profile/migrations/0001_initial.py
   - Create model UserProfile
3 - Check migration data:
from django.conf import settings
from django.db import migrations, models
import django.db.models.deletion


class Migration(migrations.Migration):
    initial = True

    dependencies = [
        migrations.swappable_dependency(settings.AUTH_USER_MODEL),
    ]

    operations = [
        migrations.CreateModel(
            name='UserProfile',
            fields=[
                ('id', models.AutoField(auto_created=True, primary_key=True, serialize=False, verbose_name='ID')),
                ('user', models.OneToOneField(editable=False, on_delete=django.db.models.deletion.PROTECT,
                                              to=settings.AUTH_USER_MODEL)),
            ],
            options={
                'permissions': (('can_read_own_contents', 'Can read own contents'),
                                ('can_read_others_contents', 'Can read others contents')),
            },
        ),
    ]
4 - Migrate:
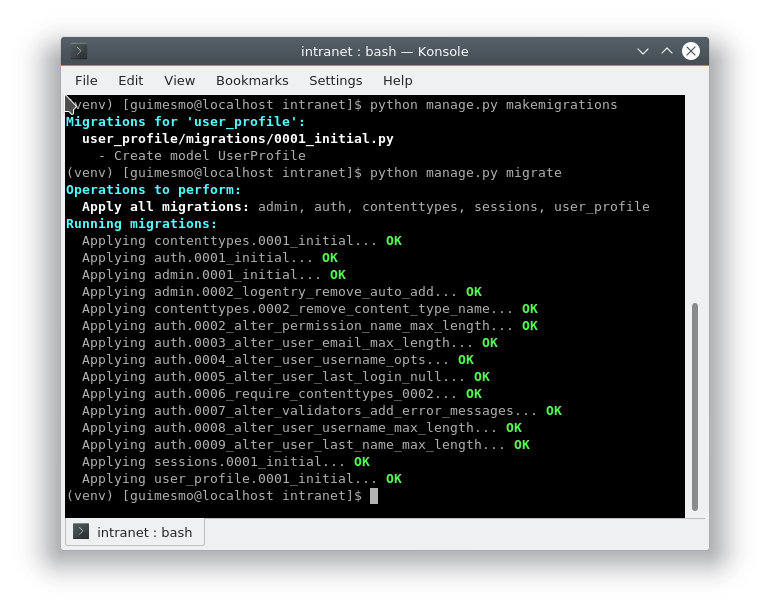
Done!


